Vacuum-Truck Insulation Removal Process
If you've never had insulation professionally removed, an industrial vacuum truck parked in your driveway with a hose running up into your attic can look intimidating. It isn't complicated once you know what's actually happening. This page walks through the vacuum-truck removal process step by step — what the equipment does, what to expect inside your house that day, and how long the whole thing typically takes.
Why Vacuum-Truck Extraction Is the Industry Standard
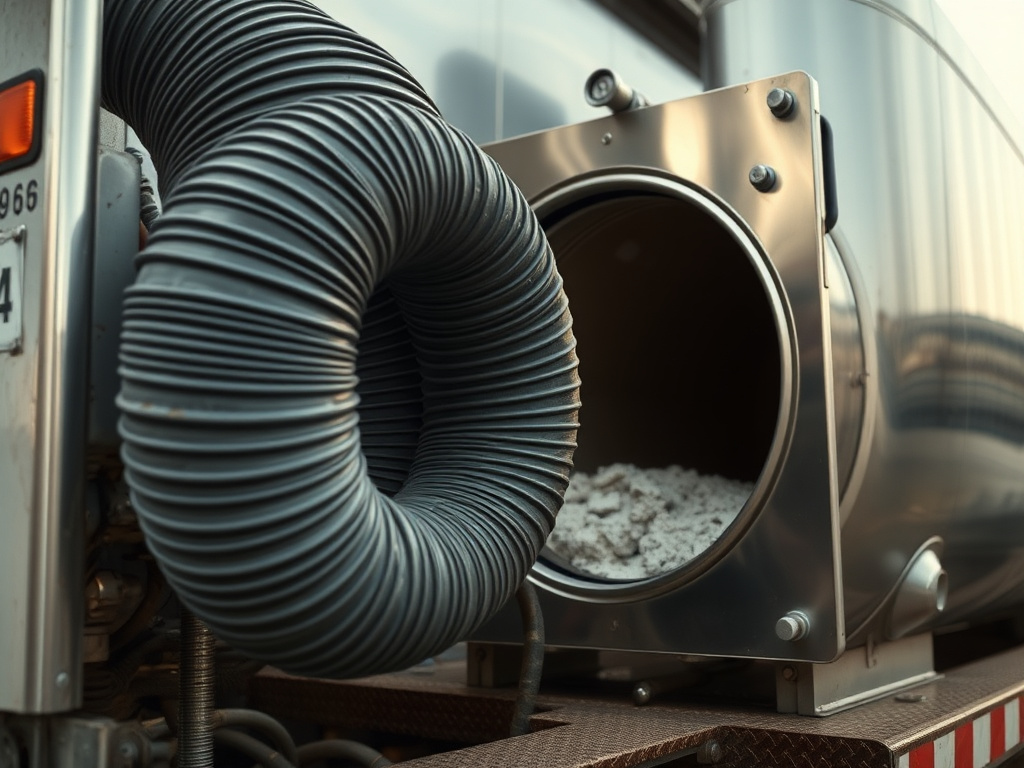
Loose-fill cellulose insulation is designed to be blown in during installation, and it's removed the same way in reverse — pulled out with high-powered suction rather than scooped or hand-bagged. A vacuum truck generates strong, sustained negative-pressure airflow through a long hose, which pulls loose insulation material out of the attic and directly into a sealed containment tank mounted on the truck itself.
This matters for two reasons. First, it's dramatically faster than manual removal — what would take a crew days of bagging by hand gets done in hours. Second, and more important for contaminated jobs, it keeps the material contained the entire time. Old insulation, and especially anything with rodent droppings or mold in it, generates fine airborne particles when disturbed. A sealed vacuum-to-tank system means that material never gets manually handled or exposed to open air inside your home.
It's also simply a scale problem. A single-family attic can hold hundreds of cubic feet of loose-fill cellulose once it's been blown in and settled over years. Removing that volume by hand — scooping it into contractor bags one load at a time — isn't just slow, it also means dozens of open bags of insulation dust moving through the house before they ever make it outside. Vacuum-truck extraction sidesteps that entirely by moving the material through a sealed hose straight to the truck.
Setting Up: Truck Placement and Hose Run
The truck itself stays outside — typically in the driveway or curbside, positioned as close to an attic access point as the property layout allows. From there, a flexible hose is run from the truck into the house and up into the attic, either through an existing attic hatch, a scuttle opening, or occasionally a temporary opening cut for larger jobs and patched afterward.
Hose reach is a real practical consideration on larger or oddly-laid-out homes. Crews carry enough hose length to reach most attic configurations without needing to reposition the truck mid-job, but very large homes or attics with multiple separated sections sometimes require the truck to be repositioned once during the job.
Before the hose goes in, the crew does a quick walkthrough of the access route — driveway clearance, distance from the truck to the attic hatch, and any furniture or landscaping that needs to be worked around. This is a short setup step, usually well under 30 minutes, but it's what makes the rest of the job run smoothly rather than improvising equipment placement once extraction is already underway.
Negative-Pressure Extraction Into the Truck
Once the hose is run and the crew is positioned in the attic, extraction begins. A technician works the hose intake through the attic space section by section, methodically pulling insulation into the airstream while the truck's vacuum system maintains continuous negative pressure through the line.
The insulation travels the full length of the hose and empties directly into a sealed containment tank on the truck — it never touches the ground, the driveway, or the inside of your home during the process. This is the core reason vacuum-truck extraction outperforms any DIY or hand-removal method: the material is contained from the moment it leaves the attic to the moment it's hauled away.
The technician works methodically across the attic rather than pulling from one spot, since loose-fill cellulose settles and packs differently across a large attic floor — low spots near eaves and edges are often more compacted than open central areas. Working section by section ensures the whole attic gets cleared down to the decking, not just the easiest-to-reach middle of the space.
Dust Control Inside the Home
Even with a sealed extraction system, insulation work generates some fine dust in and around the work area — mostly at the attic access point where the hose enters and the technician is working. Crews take standard precautions to keep that dust from spreading into the living space: sealing off the attic access opening with plastic sheeting where practical, and running the extraction as a closed system rather than leaving the attic hatch open to the rest of the house.
You don't need to empty rooms or cover furniture throughout the house for this. The work is contained to the attic and the immediate access point, and most homeowners are comfortable staying in the house during the job, aside from avoiding the direct work area.
What to Do Before the Crew Arrives
Preparation for a vacuum-truck removal is minimal compared to most home service work, which surprises a lot of first-time customers. You don't need to clear out rooms, move furniture away from walls, or empty closets. The main thing worth doing ahead of time is making sure the attic access point is reachable — clearing anything stacked directly under or in front of a pull-down ladder or hatch, and letting the crew know in advance if the attic is used for storage, since stored items need to be moved before extraction can begin in that area.
If you have pets, it's worth keeping them in a closed-off room or outside during the job, mainly because of the truck traffic and equipment noise near the driveway rather than anything happening inside the house itself. Beyond that, there's very little a homeowner needs to do to get ready.
How Long the Crew Is Actually There
For most single-family attics, the full process — truck setup, hose run, extraction, and initial cleanup — takes 2 to 5 hours. Where a specific job lands in that range depends mainly on two factors: square footage of the attic, and how much decontamination work (see our attic decontamination page) is layered on top of straightforward extraction.
A plain "old and settled" removal on an average attic tends to land toward the shorter end. A job that also involves HEPA vacuuming of framing, enzymatic odor treatment, or antimicrobial fogging for a rodent- or mold-affected attic runs longer, since those steps happen after extraction is complete and require their own dedicated time.
- Average single-family attic, no contamination: on the shorter end of the 2-5 hour range
- Larger attics or homes with limited access points: add time for hose repositioning
- Rodent or mold contamination present: add decontamination time on top of extraction
- Re-insulation bundled into the same visit: adds installation time after removal is complete
What Happens to the Insulation After It Leaves Your Attic
Once insulation is extracted into the truck's containment tank, it's transported for disposal rather than left on-site in any form. Nothing is loose-bagged and stacked in your yard — the sealed-tank system is specifically what avoids that. Standard, uncontaminated cellulose is handled through routine disposal, while anything with rodent waste or mold contamination is bagged and handled separately according to what that material requires.
This is also the point in the process where a decision gets made about re-insulation: if new insulation is being installed the same day, the attic goes from empty to freshly insulated in one visit rather than being left open and exposed while a second appointment gets scheduled.
Handling disposal this way also means you're not left figuring out logistics on your own — no coordinating a separate hauling appointment, no loose bags of old insulation sitting in the yard waiting for a special pickup. The truck that removed it is the same truck that leaves with it, which is part of why this method is faster end-to-end than any hand-removal approach.
Removal Process questions, answered
Most single-family attics take 2 to 5 hours with a vacuum truck, depending on square footage and how much contamination or decontamination work is involved. A straightforward, uncontaminated removal lands toward the shorter end of that range, while a rodent- or mold-affected attic that needs HEPA vacuuming and sanitizing on top of extraction runs longer.
Vacuum-truck extraction is the industry-standard method for loose-fill cellulose. It's significantly faster than hand-removal, generates far less dust inside the living space, and is the safest option once contaminated material — rodent droppings, mold — is involved, since the insulation stays sealed inside the containment system the entire time rather than being manually bagged in the open.
Professional removal uses a hose run from a truck-mounted vacuum system into the attic, extracting the insulation directly into a sealed containment tank rather than bagging it by hand. This matters most once biohazard material is involved, since manual handling and open-air bagging create more opportunity for contaminated dust to spread into the home.
A DIY vacuum rental can work reasonably well for a small, uncontaminated attic where a homeowner is comfortable working in a confined, hot space for several hours. Once rodent droppings, mold, or older fire-retardant-degraded cellulose is in play, the PPE, containment, and disposal requirements shift the math — professional removal tends to be the safer option and often works out cheaper in the end once you account for rental equipment limitations and contamination handling.
See the Vacuum-Truck Process on Your Own Attic
Call 844-967-5247 or email josh@contractorschoiceagency.com to schedule your removal and get a straightforward timeline for your home.